Import Users EUM V7
|
Published
User Import is a feature available in EUM 6.0.8185.1 and newer. To use this feature, one must have access to:
- EUM Config Site in SharePoint
- EUM Resource Group in Azure Portal
The User Import must be configured before this can be used. To set it up please follow the article Setup User Imports. Please refer to the bottom of the page to find this article.
Once User Import is configured, please follow the steps below to Import Users:
For EUM 6.0.8185.1 to 6.0.8460.2
Part One: Fill Up the User Import Excel in EUM Configuration Site
- Navigate to the EUM Config Site.
- In the EUM Configuration Site, click User Imports under User Manager.
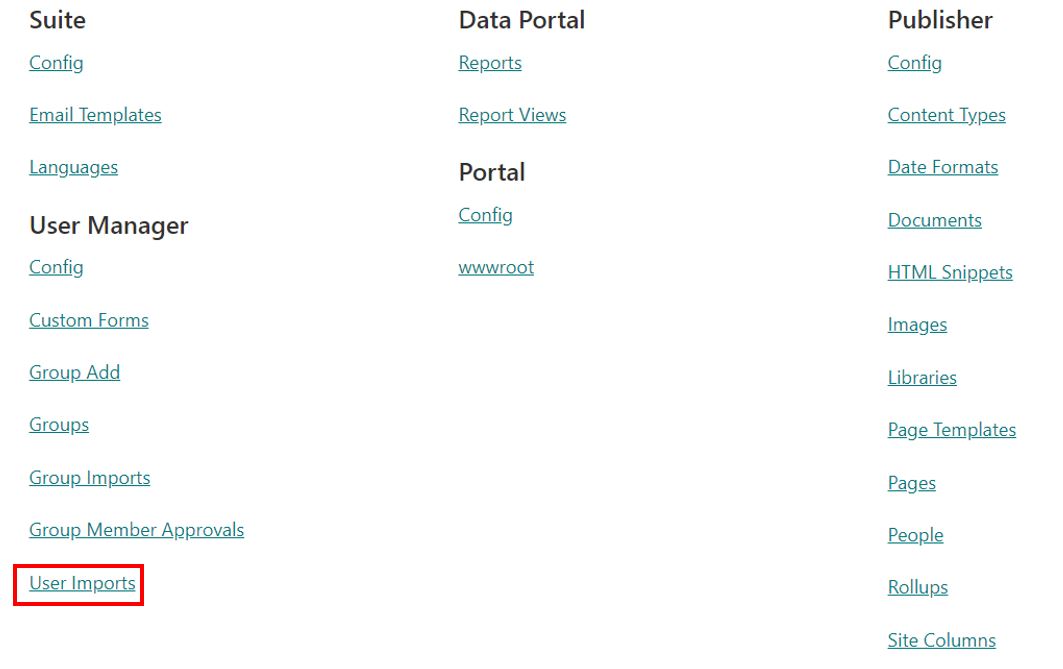
-
Click to open the User Import.xlsx
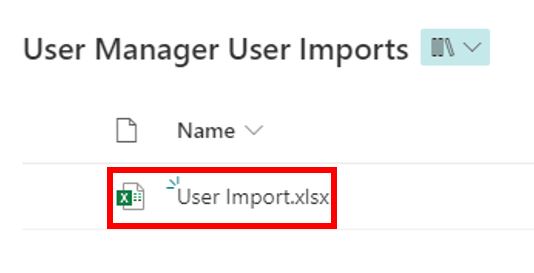
-
Edit the Excel. Fill in all the Required Items:
- Column B "Status" should remain "Ready for Import".
- Column C "Object ID" should be blank.
- Column D "Email" should have the email of the user to be imported.
- Column E and F should have the "First Name" and the "Last Name" of the user to be imported.
- Column G should have the "Display Name".
- Column H may contain the EUM Group names, comma separated. These are the groups the imported user is intended to be a member of. These groups must already be present in EUM.
- All other columns with <Optional> value can either be filled in or left blank.
-
The file will automatically be saved.

Part Two: Run the "eum-admin-user-import" Logic App
- Login to EUM Admin.
- Click Azure AD in the left-hand menu.
-
Click Resource Group under App Services.

- In the Resource Group, look for "eum-admin-user-import" Logic App and click to open it.
-
Click Run Trigger to run the Logic App.
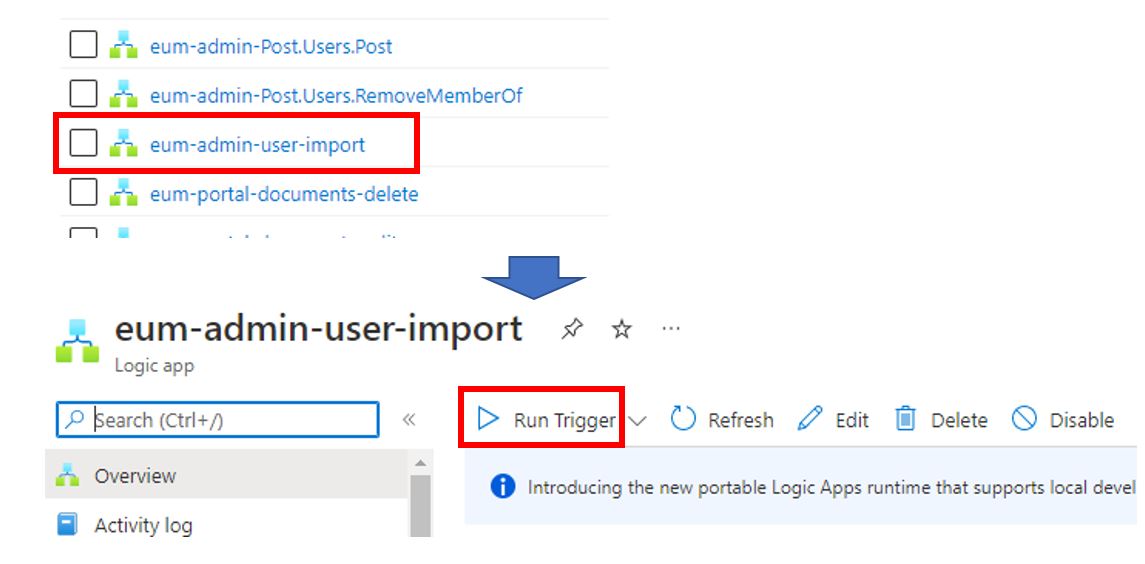
- This will import the users and place them in the specified groups.
For EUM 6.0.8531.1 and above
- Navigate to the EUM Config Site.
-
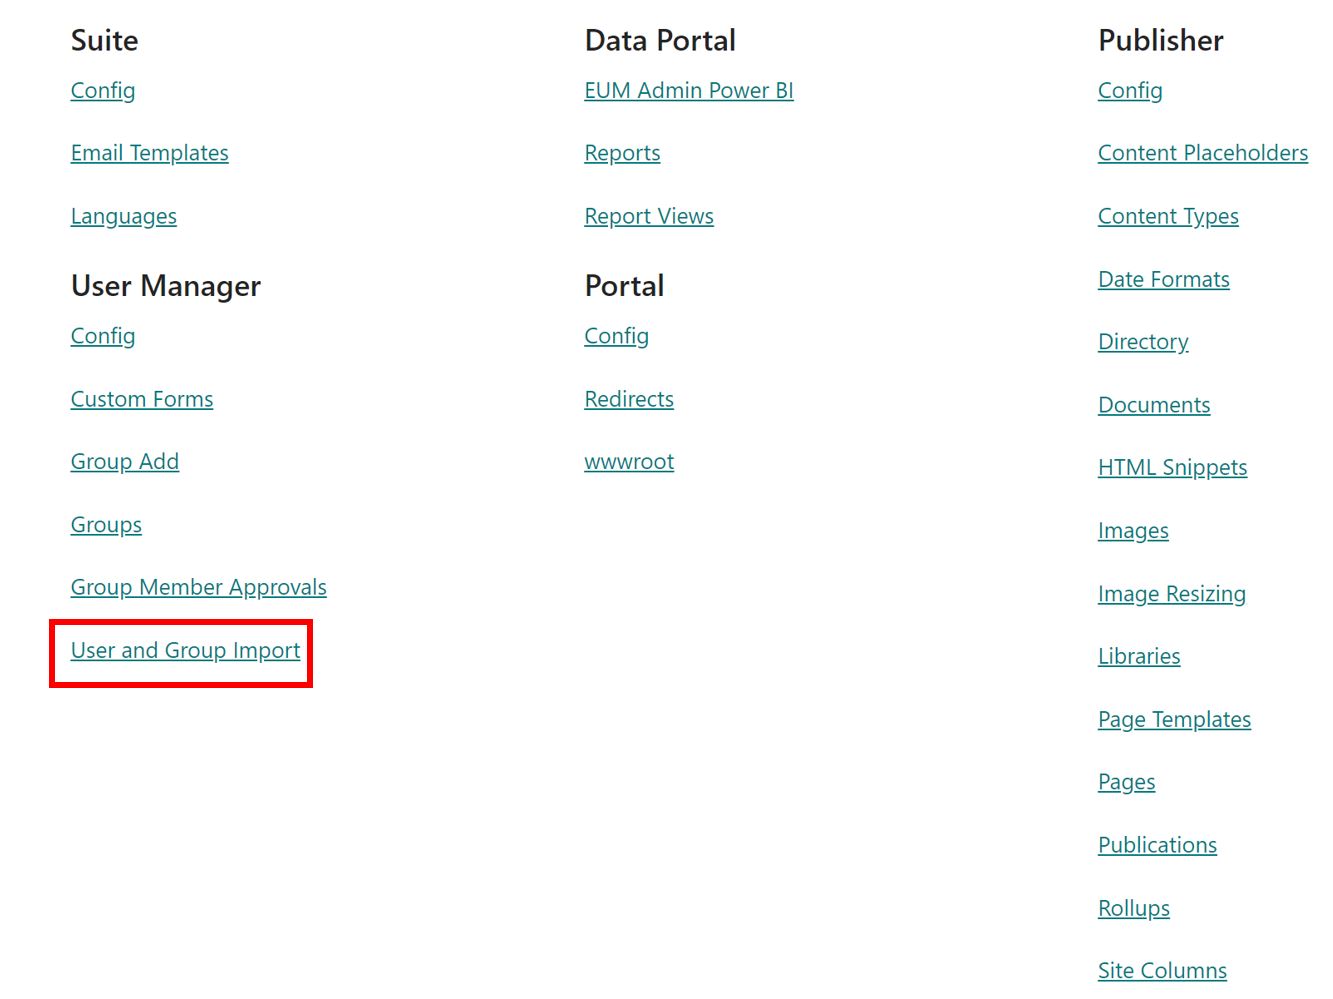
In the EUM Configuration Site, click the User and Group Import under User Manager.
-
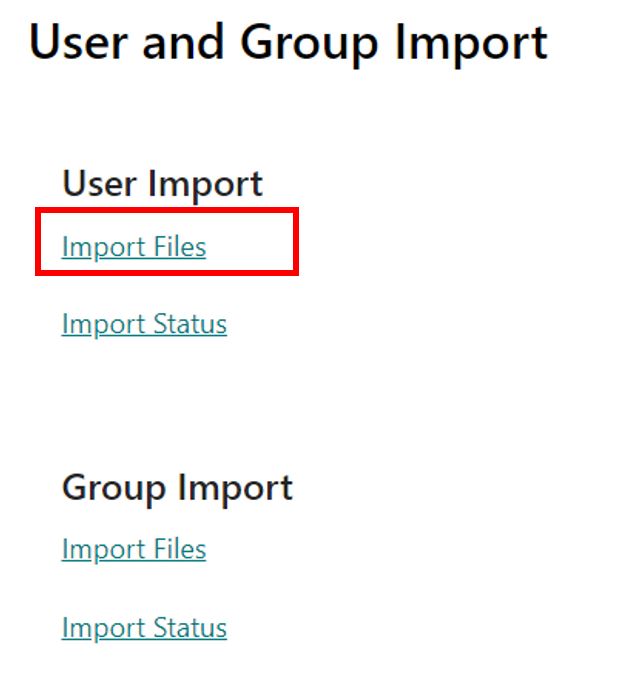
Click Import Files under User Import.
-
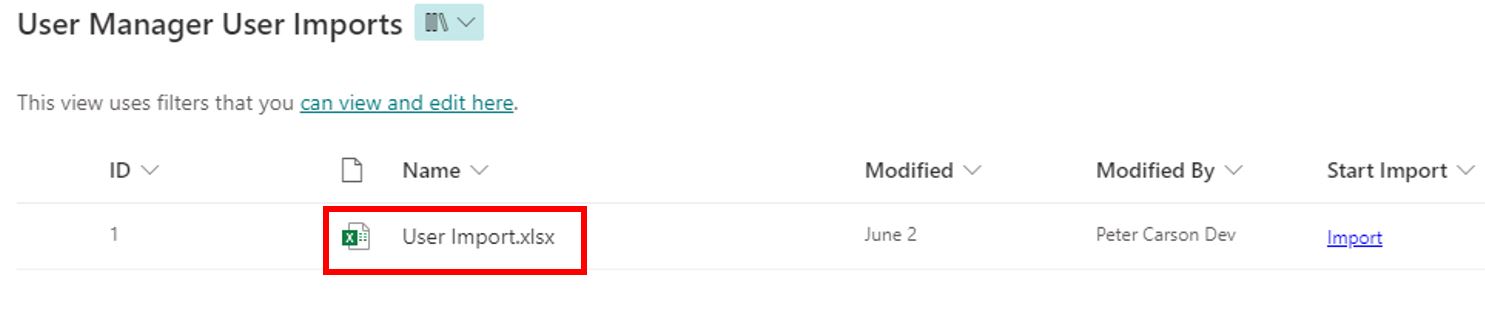
Click to open the User Import.xlsx.
-
Edit the Excel. Fill in all the Required Items:
- Column B "Status" should remain "Ready for Import".
- Column C "Object ID" should be blank.
- Column D "Email" should have the email of the user to be imported.
- Column E and F should have the "First Name" and the "Last Name" of the user to be imported.
- Column G should have the "Display Name".
- Column H should be TRUE if the users created must have their Accounts Enabled.
- Column I may contain the EUM Group names, comma separated. These are the groups the imported user is intended to be a member of. These groups must already be present in EUM.
- All other columns with <Optional> value can either be filled in or left blank.
-
The file will automatically save.

-
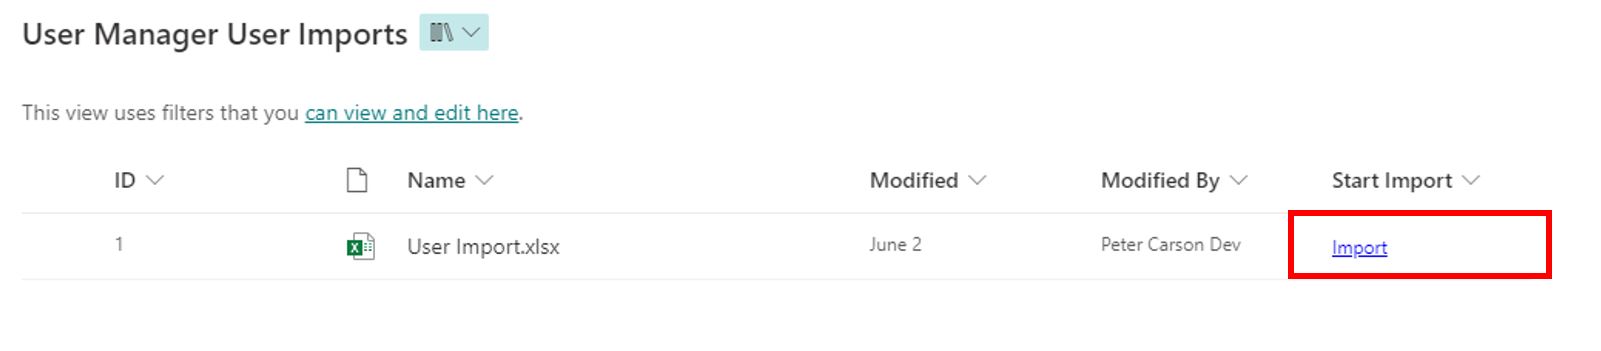
Go back to the User Manager / User Imports page on the EUM Config Site and click Import.
-
This will redirect you to the EUM Admin and display a confirmation message.
For EUM 7
-
Login to EUM Admin and navigate to Users.
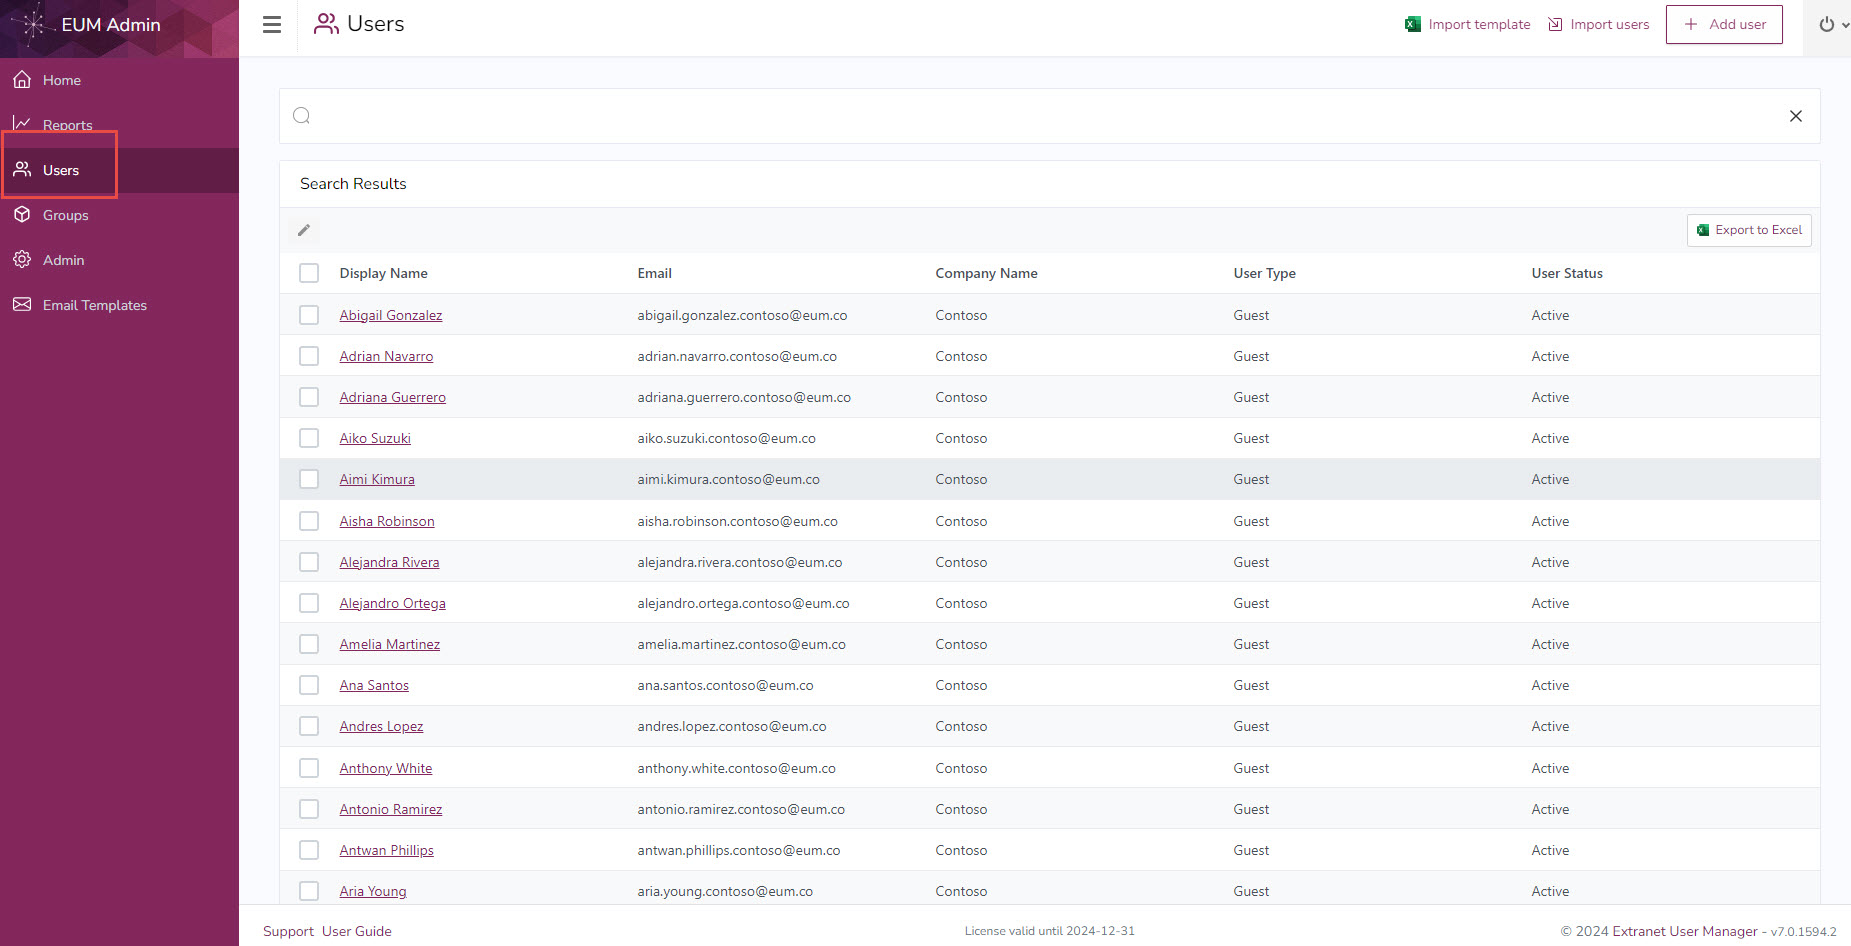
-
Click Import Template to download the User Import Template.
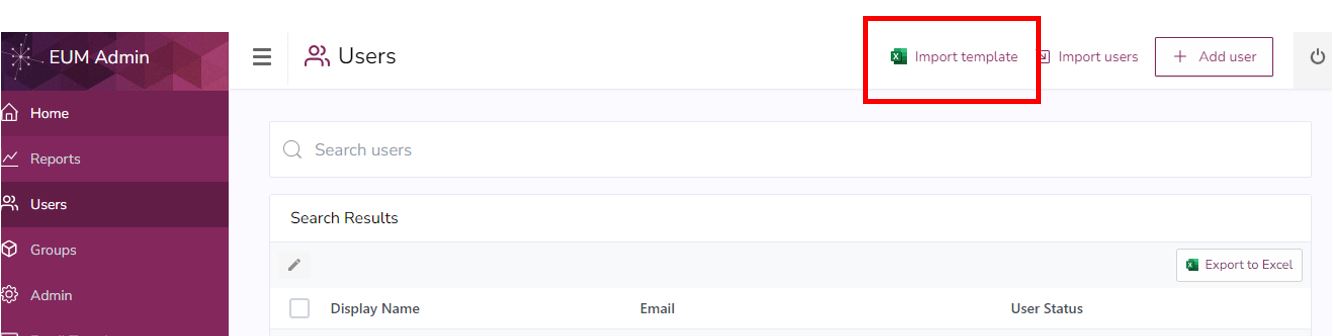
-
This will download an Excel. Open the Excel and click Enable Editing at the top.
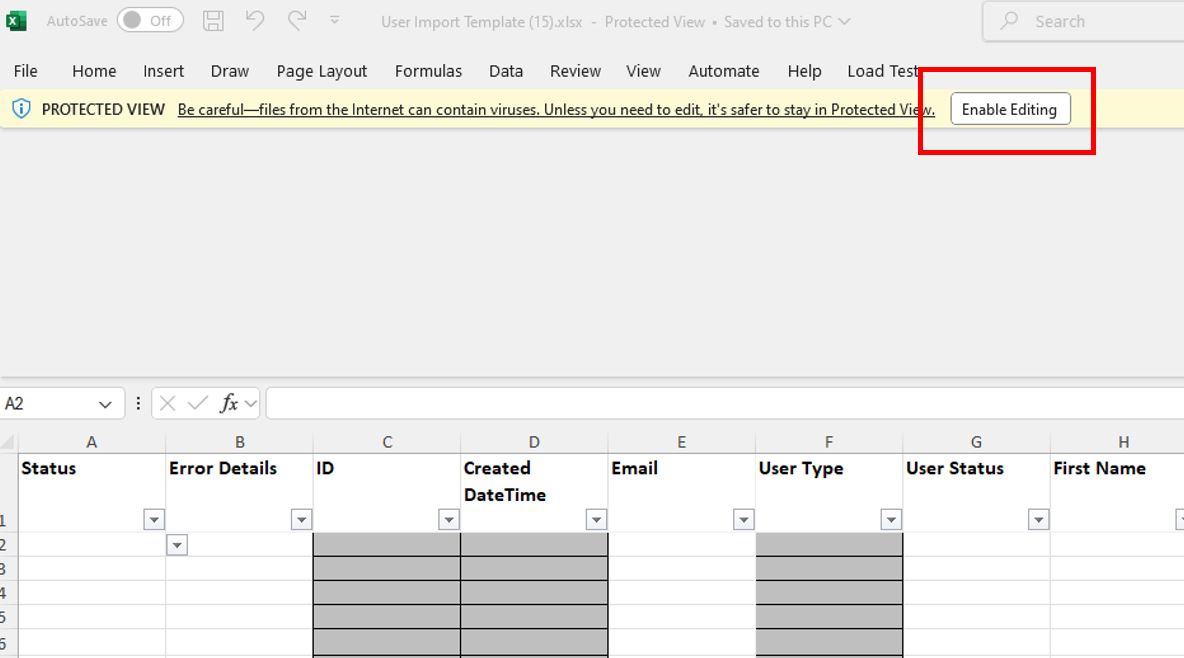
-
Fill up at minimum the Status, Email, User Status, First Name, Last Name, and Display Name.

- Status: This should be Ready for Import so a fresh user can be imported.
- Email: This is the email of the user to be imported.
- User Status, and the options are:
- Active
- Disabled
- Pending Approval
- Rejected
- First Name: This is the First Name of the user to be imported.
- Last Name: This is the Last Name of the user to be imported.
- Display Name: This is the Display Name of the user to be imported.
- Do not fill in anything in the Error Details, or in the cells highlighted grey.
- If imported users are to be added to groups, the Group ID (Object ID of the Group) should be put in the Groups column. For multiple groups, add each Group ID separated by a space.
- Save the Excel once ready.
- On the EUM Admin Users page, click Import Users.
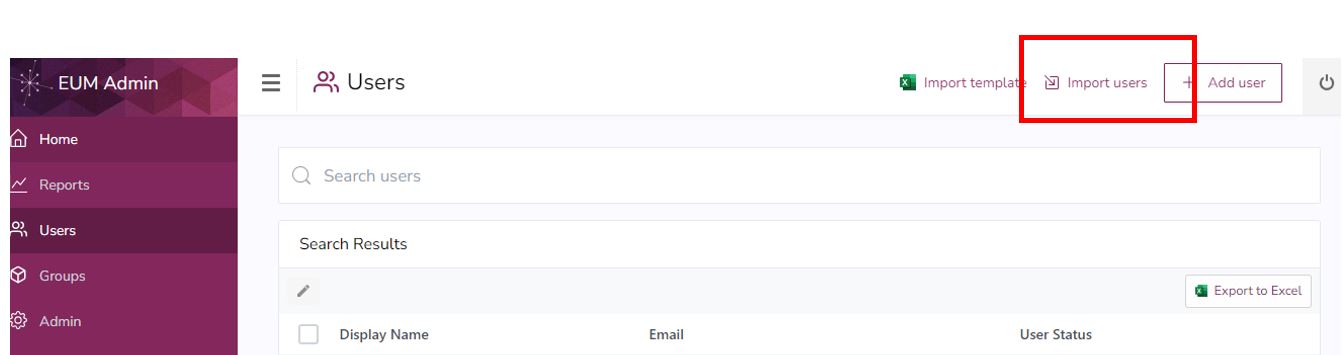
- That would take you to the EUM Config Site User Manager User Imports Document Library.
-
Drag and drop the excel there.
-
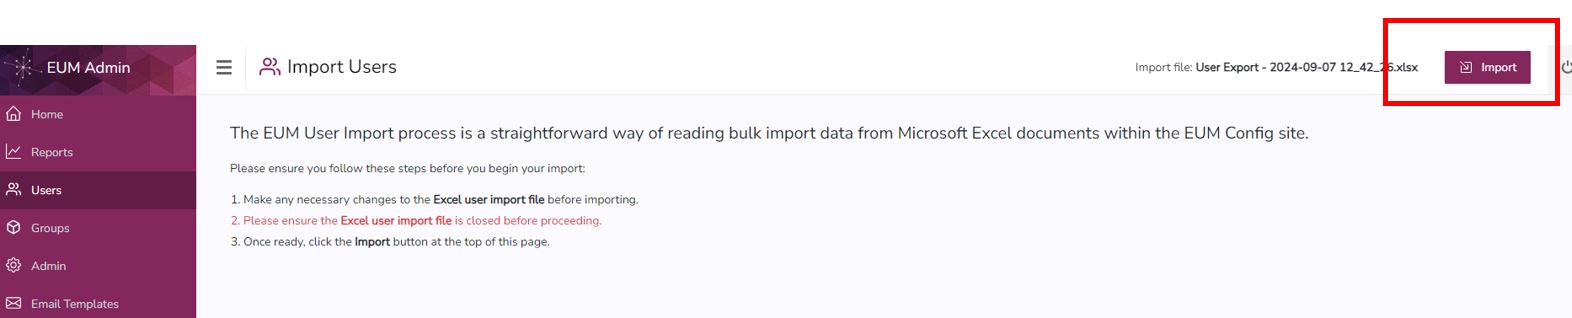
Click the Import button beside the Excel to start the import process.
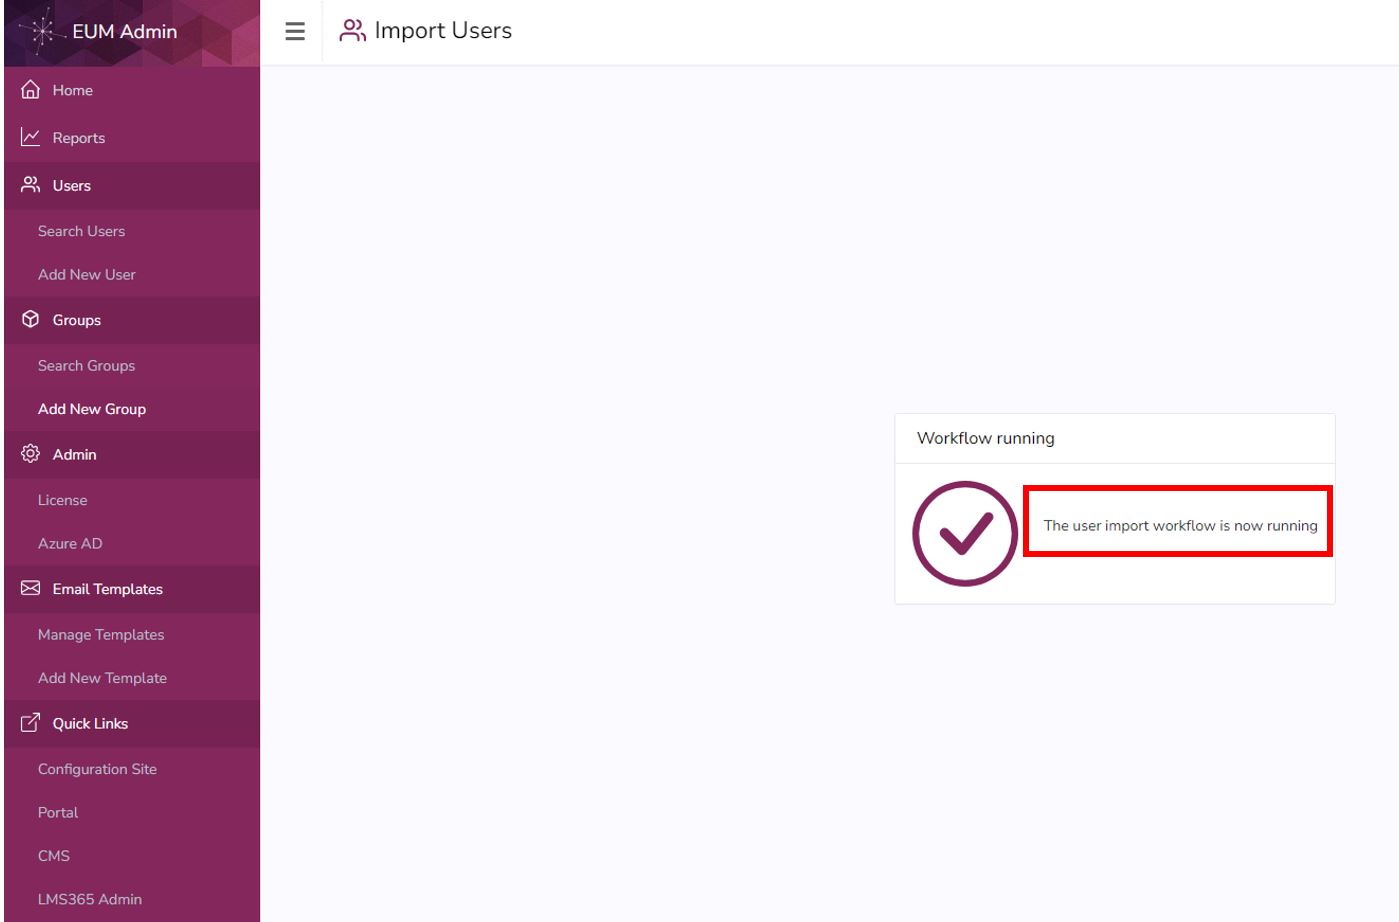
-
That will take you back to the EUM User Import page. Follow the instructions and click the Import button at the top of the page. That will start the User Import process.